What Are Microgreens and Why You Should Care
What Are Microgreens?
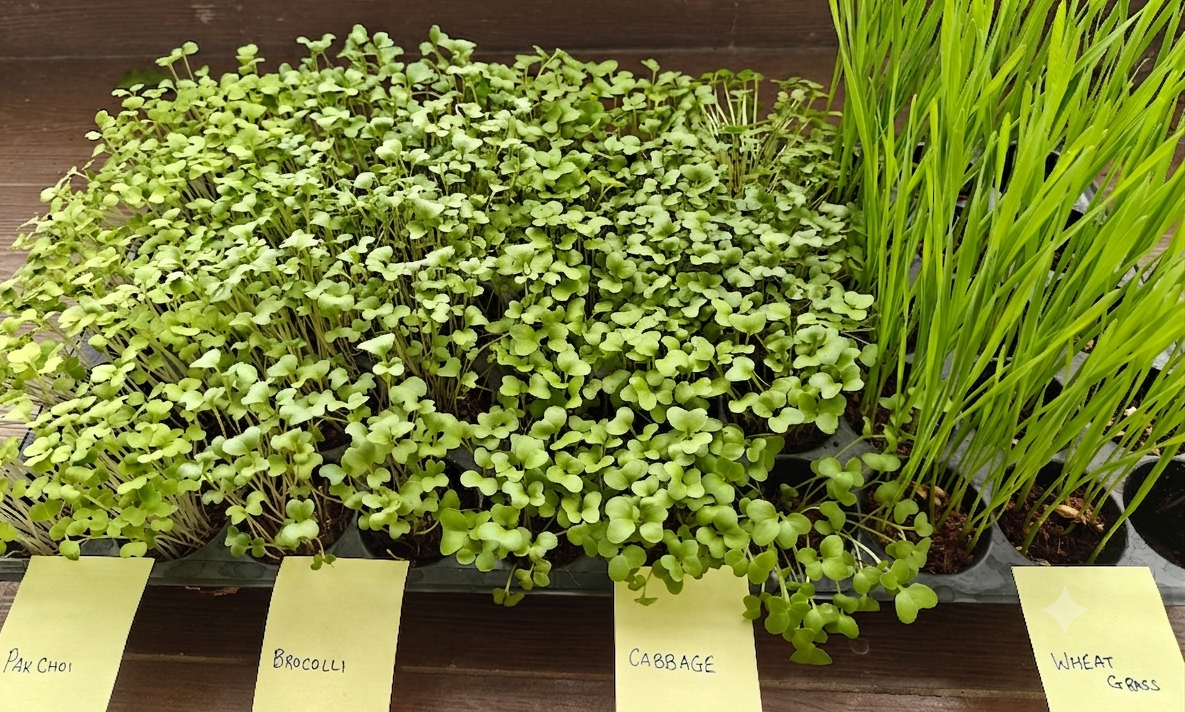
Microgreens are not dwarf plants or special hybrid crops. They are simply the young, edible seedlings of standard vegetables and herbs—such as Broccoli, Sunflower, Radish Purple Sango, and Mustard.
When a vegetable seed sprouts, it puts its concentrated energy into growing its first pair of seed leaves (called cotyledons). Microgreens are harvested at this exact peak moment—usually just 7 to 14 days after germination—before the plant spends its energy growing true leaves and large root systems.
Sprouts vs. Microgreens vs. Full-Grown Vegetables
Because all three come from the same seeds, it is easy to confuse them. However, their growth stage, growing method, and edible parts are very different:
| Feature | Sprouts | Microgreens | Full-Grown Vegetables |
| Harvest Time | 3–5 Days | 7–14 Days | 40–90+ Days |
| Growing Medium | Water only (dark environment) | Soil or Coconut Coir (light required) | Soil / Garden plot / Large containers |
| Edible Parts | Seed, root, stem, and shoot | Stem and seed leaves only (root cut off) | Leaves, stems, roots, or fruits |
| Flavor Profile | Mild, watery, crunchy | Concentrated, bold, distinct | Standard mature flavor |
| Common Examples | Moong, Chana sprouts | Broccoli, Sunflower, Radish Purple Sango, Mustard | Head of Broccoli, Whole Radish, Mustard Greens (Sarso |
Popular High-Impact Microgreen Varieties
If you are starting out, these top-recommended varieties offer the best combination of fast growth, striking colors, and intense flavor:
- Broccoli Microgreens: Mild, fresh taste with extremely high antioxidant properties.
- Sunflower Microgreens: Thick, crunchy, and deliciously nutty—a favorite for snacking and salads.
- Radish Purple Sango: Known for its deep, intense violet leaves and sharp, spicy radish kick.
- Mustard Microgreens: Fast-growing with a distinct zesty bite that complements Indian dishes perfectly.
Simple 4-Step Setup at Home
Growing your own microgreens does not require expensive gear. You can set up a thriving indoor tray using simple items around your house.
1. Prepare Your Container
- Take any shallow tray, plant saucer, or repurposed food takeaway container (at least 2 inches deep).
- Poke a few small drainage holes in the bottom.
2. Add the Growing Medium
- Fill the container with about 1.5 inches of pre-moistened coconut coir or clean potting soil.
- Gently smooth the surface so it is level, but do not pack it down tightly.
3. Sow the Seeds
- Scatter your seeds (like Broccoli, Mustard, or Radish Purple Sango) evenly across the soil surface. They should sit close together like a thick carpet, but not overlap in piles.
- Mist the seeds lightly with a spray bottle, then cover the tray with a lid or damp cloth for 2–3 days (the "blackout phase") to encourage germination.
4. Light, Water, and Harvest
- Once the seeds sprout and show tiny stems, remove the cover and move the tray to a bright windowsill that gets natural light.
- Lightly water or spray the base daily to keep the medium damp (never waterlogged).
- In 7 to 14 days, when your greens are 2–3 inches tall, snip them just above the soil line with clean scissors and enjoy!
What’s Next?
Now that you know what they are and how easy they are to grow, we’ll explore the incredible health benefits of microgreens and why adding a handful of tiny Sunflower or Broccoli shoots to your daily diet is a total nutritional upgrade.
Call to Action:
Which variety are you excited to grow first—spicy Radish Purple Sango, crunchy Sunflower, or mild Broccoli? Tell us in the comments below!
Have a question about starting your first tray? Drop your questions in the comments below, or check out Why Microgreens Are a Health Game-Changer to see how much nutrition these tiny greens hold!
0 Comments
No comments published yet. Be the first to comment!